Layered Soapmaking: Creating Stunning Visual Effects
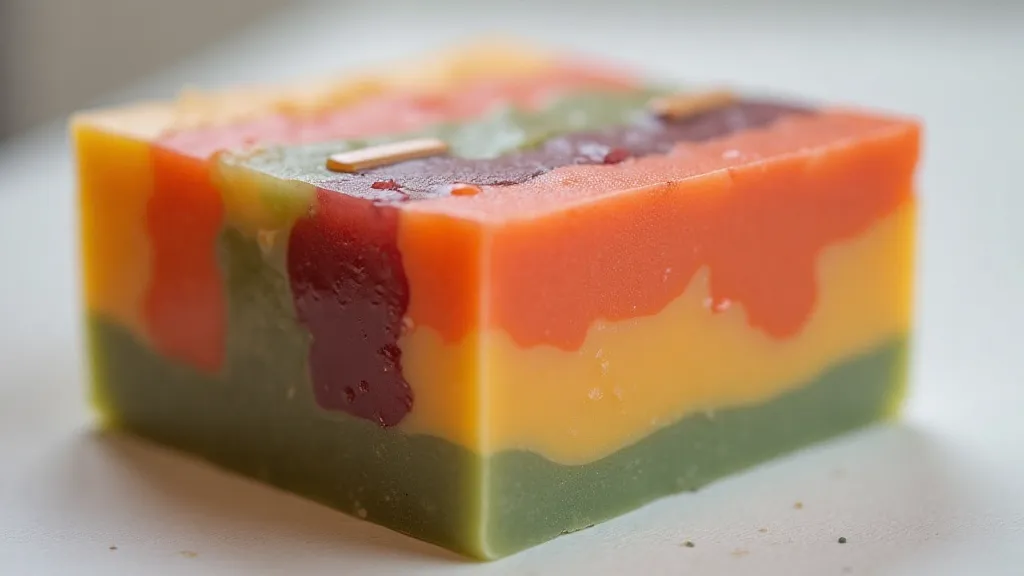
Layered soapmaking is a captivating technique that elevates your homemade soap from simple to spectacular. It's a fantastic way to showcase your creativity and produce visually striking bars that your customers (or you!) will love. This guide will break down the process, offering tips and tricks to achieve clean, vibrant layers and avoid the dreaded muddy mixing.
Understanding the Basics
The principle behind layered soap is simple: you create multiple batches of soap base (typically cold process) and pour them into the mold in successive layers. The key to success lies in allowing each layer to *partially* set before pouring the next. If a layer is too soft, it will mix with the subsequent layer; if it’s too hard, you won’t achieve distinct layers.
Essential Supplies
- Soap Base: You’ll need at least two different batches of soap base. Experiment with different colors and scents for dramatic effects. Before embarking on complex techniques like layered soapmaking, it’s incredibly helpful to have a solid grasp of the fundamentals. If you’re just beginning your soapmaking journey, consider starting with a simpler method like melt and pour soapmaking.
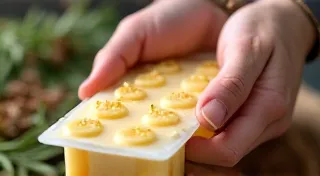
- Mold: Silicone molds are highly recommended for easy release. The size and shape of the mold will impact the appearance of your layers.
- Thermometer: Accurate temperature control is crucial.
- Spatula or Spoon: For precise pouring.
- Spray Bottle with Rubbing Alcohol: For smoothing the surface between layers.
Step-by-Step Guide
- Prepare Your Soap Batches: Create your soap bases according to your chosen recipes. Divide the total amount of soap you want to make into the number of layers you intend to create. For example, if you want four layers, divide your soap into four equal portions. Understanding the chemical reactions involved in soap creation is vital to ensuring quality and consistency. For those eager to delve deeper into the intricacies of the process, exploring the science of saponification offers valuable insights.
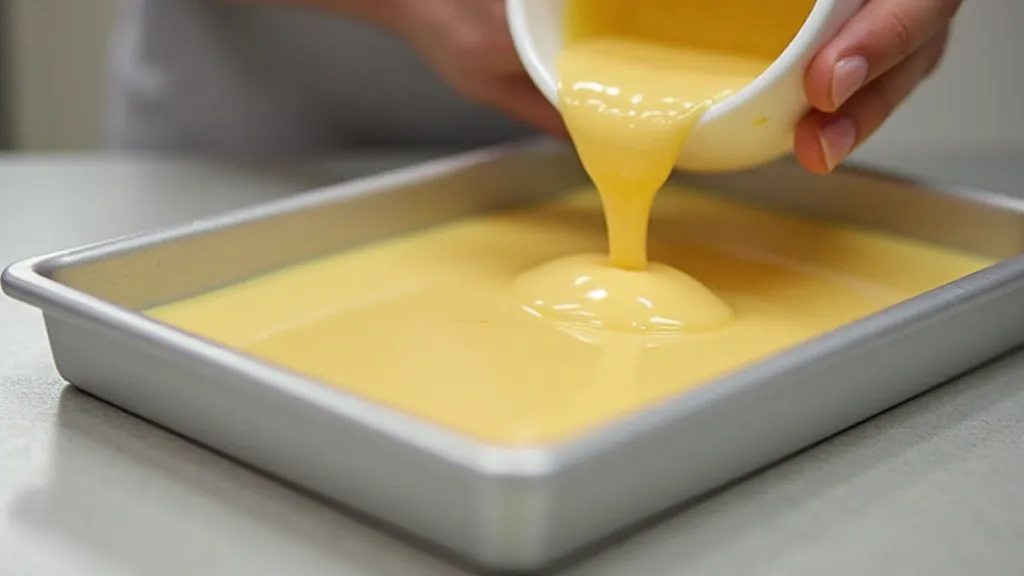
- Pour the First Layer: Pour the first batch of soap into your mold. This layer will likely be the foundation of your design.
- Allow Partial Setting: This is arguably the most important step. Let the first layer cool and partially set. You’re looking for it to be firm enough to support the next layer without mixing. This usually takes between 15-45 minutes, but will vary depending on the room temperature, humidity, and the recipe itself. A good test is to gently poke the surface. It should be firm but still have a slight give.
- Spray with Alcohol: Lightly spray the surface of the partially set layer with rubbing alcohol. This removes any “dust” or imperfections that could cause mixing.
- Pour the Second Layer: Carefully pour the second batch of soap onto the prepared surface. Pour slowly and steadily to avoid disturbing the first layer.
- Repeat for Remaining Layers: Continue adding layers, allowing each to partially set and spraying with alcohol between pours.
- Final Cure: Once all layers are poured, let the soap cure as you would any other cold process soap (typically 4-6 weeks). Choosing the right ingredients can significantly impact the final product; many soapmakers find incredible results incorporating milk, such as goat's milk. If you’re interested in exploring natural ingredients, check out soapmaking with goat milk for further information.

Troubleshooting Layer Mixing
Mixing is the biggest challenge in layered soapmaking. Here are some common causes and solutions:
- Layer Too Soft: The most frequent culprit. Wait longer between layers. Reduce the amount of liquid in your recipe to speed up setting.
- Layer Too Hard: If the layer is too hard, the next layer won't adhere properly, leading to cracking or separation. Try pouring the next layer slightly warmer.
- Temperature Differences: Large temperature differences between layers can cause mixing. Aim for relatively close temperatures between pours.
- Uneven Surface: A bumpy or uneven surface on a layer will create areas of mixing. Spray with alcohol and smooth with a spatula before pouring the next layer.
- Emulsification Issues: Poor emulsification in your soap base can contribute to mixing. Ensure your oils are fully saponified.
Creative Layering Ideas
- Ombre Layers: Use shades of the same color to create a gradual transition.
- Marbled Effect: Intentionally swirl colors together for a marbled look.
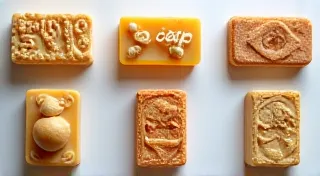
- Geometric Patterns: Use templates or tape to create sharp, defined layers.
- Hidden Layers: Create a surprise color or design within the soap. The artistry of soapmaking extends far beyond simply combining ingredients; it’s a journey of self-expression and sensory exploration. Consider the narrative potential of your creations – what story do you want to tell? For a unique perspective on the artistic process, read The Crucible's Echo: Reclaiming Narrative Through Sensory Alchemy in Soapmaking.
Layered soapmaking requires practice and experimentation, but the results are well worth the effort. Don't be discouraged by initial failures – each batch is a learning opportunity! With a little patience and attention to detail, you’ll be creating stunning, layered soap masterpieces in no time.
Beyond the technical aspects, it's essential to understand how the ingredients contribute to the overall sensory experience. Different oils and additives impact not only the appearance but also the lather, scent, and skin feel. Experimentation is key, and each attempt provides valuable insights. Remember that even experienced soapmakers encounter challenges; persistence and a willingness to learn from mistakes are hallmarks of success. A well-crafted layered soap can be a true work of art, a testament to creativity, patience, and a deep understanding of the craft. Ultimately, the satisfaction of creating something beautiful and functional is what makes layered soapmaking such a rewarding endeavor.
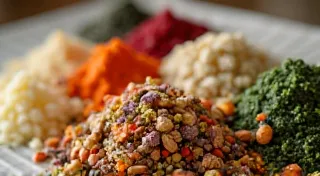
To ensure your creations are not only aesthetically pleasing but also beneficial for the skin, carefully consider the ingredients you use. Different oils and additives offer unique properties, from moisturizing and nourishing to exfoliating and cleansing. Research the benefits of each ingredient and choose those that align with your desired outcome. Don't be afraid to try new combinations and techniques, but always prioritize safety and thorough testing. With practice and a commitment to quality, you can create layered soaps that are both visually stunning and incredibly gentle on the skin.