Melt and Pour Soapmaking: A Beginner-Friendly Approach
Want to dive into the wonderful world of soapmaking but feel a little intimidated? Melt and Pour soapmaking is the perfect starting point! It’s significantly easier and faster than cold process soapmaking, allowing you to create beautiful, custom soaps in a fraction of the time. This guide will walk you through the basics, ensuring a successful and enjoyable first experience.
What is Melt and Pour Soapmaking?
Unlike cold process soapmaking which involves a chemical reaction between lye and oils, melt and pour soapmaking uses a pre-made soap base. These bases are typically made from a combination of vegetable oils, often including coconut, palm (though sustainable palm oil is recommended!), and olive oil. The manufacturer has already handled the saponification process (the chemical reaction that transforms oils into soap), so you simply melt the base, add your desired colorants, fragrances, and additives, then pour it into molds to set.
Understanding Soap Bases & Ingredient Choices
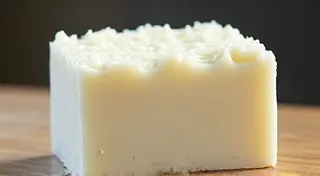
The type of soap base you choose significantly impacts the final product's characteristics. Glycerin soap is popular for beginners due to its clarity and bubbly lather, making it a forgiving option for experimenting with colors and fragrances. Shea butter bases offer extra moisturizing properties, while goat’s milk soap bases provide a creamy texture and gentle cleansing action. For those looking for more advanced techniques and want to explore the benefits of different ingredients, understanding the impact of oils is key. And for those interested in creating unique bars that are tailored to their needs, the journey often begins with understanding the properties of these core ingredients. The science behind soapmaking can seem daunting, but the ability to craft custom blends can be extremely rewarding, opening the door to truly artisan creations.
Materials You'll Need
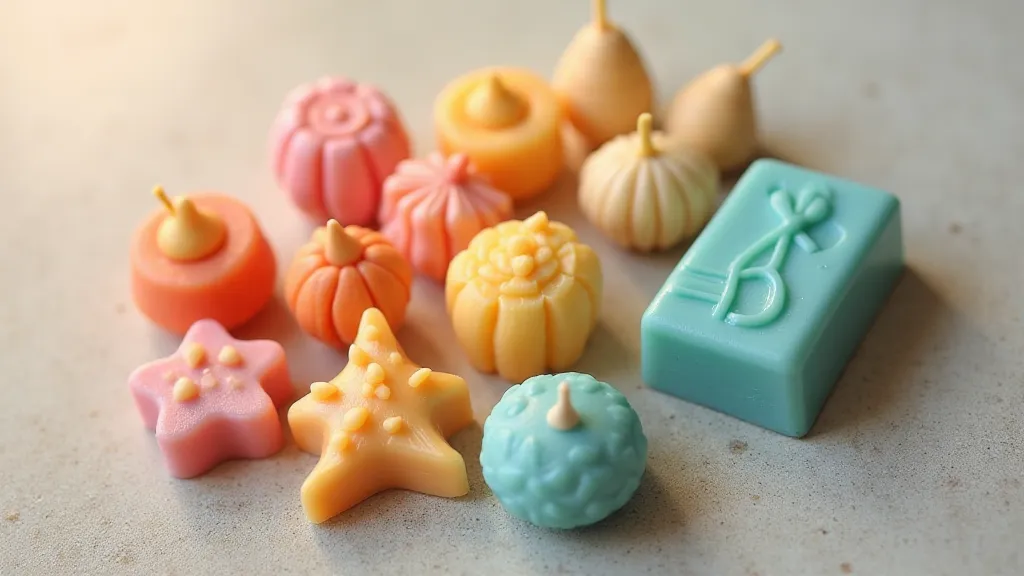
- Melt and Pour Soap Base: Choose from glycerin, shea butter, goat's milk, olive oil, or other varieties. Glycerin soap is a popular choice for beginners due to its clarity and lather.
- Double Boiler or Microwave-Safe Container: For melting the soap base.
- Spatula or Stirring Spoon: To mix in colorants and additives.
- Soap Molds: Silicone molds are best due to their flexibility and ease of release. You can find molds in countless shapes and sizes.
- Colorants: Soap-safe colorants like micas, pigments, or natural clays. Avoid liquid food coloring as it can bleed.
- Fragrance Oils or Essential Oils: Choose soap-safe fragrances that are specifically designed for use in soap.
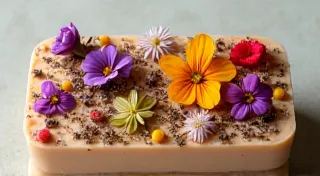
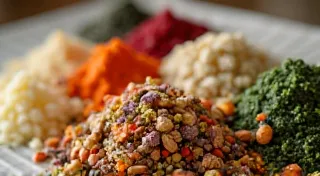
- Additives (Optional): Dried flowers, herbs, exfoliants (like poppy seeds or coffee grounds).
Step-by-Step Guide
- Prepare Your Workspace: Lay out all your materials and ensure your work area is clean and dry.
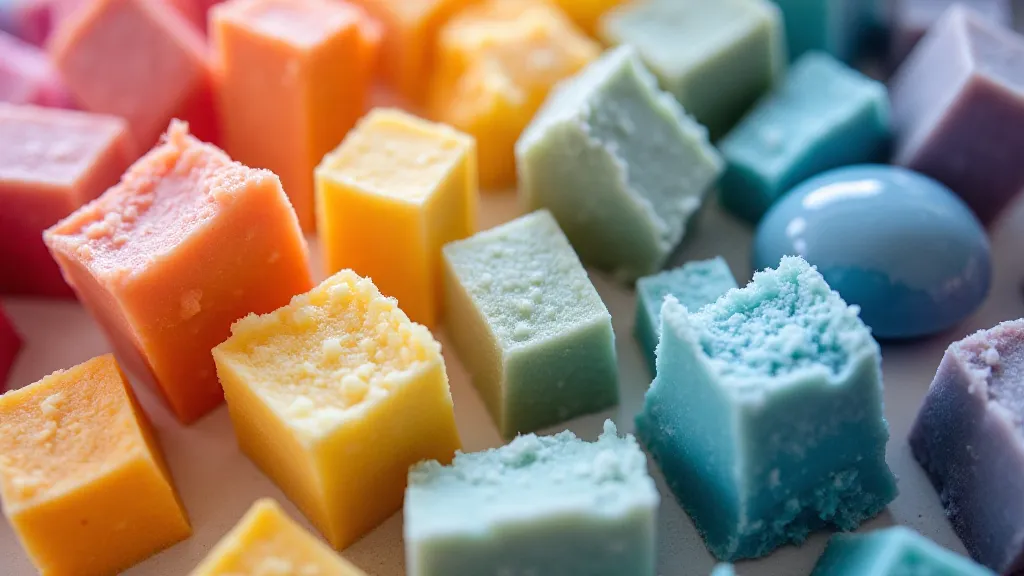
- Cut the Soap Base: Cut the soap base into small, uniform cubes. This helps it melt evenly.
- Melt the Soap Base: Using a double boiler or microwave, melt the soap base slowly. If using the microwave, heat in 30-second intervals, stirring in between, to prevent overheating and potential scorching.
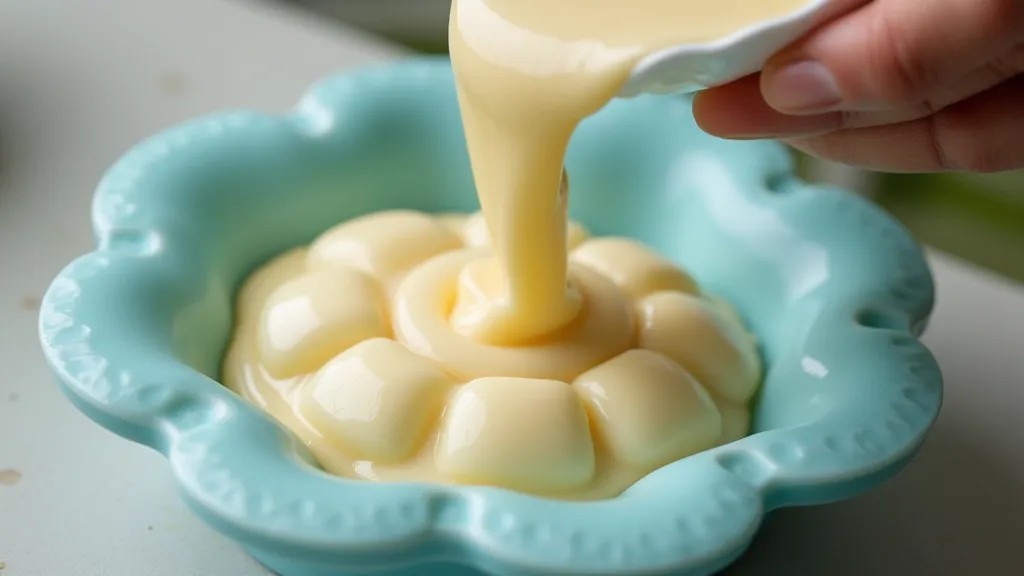
- Add Colorants: Once the soap base is completely melted, add your colorant a little at a time, stirring until you achieve your desired shade. Remember that color can deepen as the soap cools.
- Add Fragrance: Add your fragrance oil or essential oil according to the manufacturer's recommended usage rate (typically 3-6% of the soap base weight). Stir gently but thoroughly.
- Add Additives (Optional): If using additives like dried flowers or herbs, sprinkle them evenly into the melted soap. Consider how these additions will affect the final product’s look and feel – truly unique soaps are often achieved through careful incorporation of botanicals! Learn more about incorporating working with botanical inclusions, flowers, herbs, and more.
- Pour into Molds: Carefully pour the melted soap into your prepared molds. Tap the molds gently on a flat surface to release any air bubbles.
- Cool and Harden: Let the soap cool and harden completely. This usually takes about an hour or two at room temperature, or you can speed up the process by placing them in the refrigerator.
- Remove from Molds: Once the soap is firm, gently remove it from the molds.
Tips for Success
- Don't Overheat: Overheating the soap base can cause it to scorch and become brittle.
- Mix Gently: Avoid vigorous stirring, which can create air bubbles.
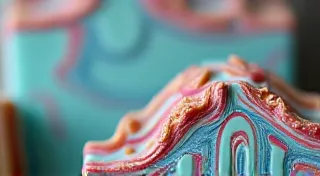
- Experiment with Colors and Fragrances: Melt and pour soapmaking is a great way to get creative! Consider layering different colors to create a swirl effect – a technique that results in a truly artisan-crafted look. Thinking outside the box with color combinations is just the start – the possibilities are truly endless when customizing your own bars.
- Record Your Recipes: Keep track of your recipes so you can recreate your favorite soaps. Note down the exact amounts of each ingredient to ensure consistency in your creations.
- Safety First: While melt and pour soapmaking is generally safe, it’s always a good idea to wear gloves and eye protection.
Beyond the Basics: Designing Unique Soaps
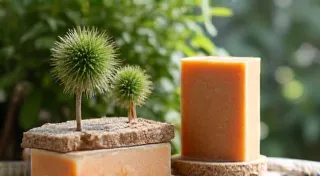
Once you're comfortable with the basic process, you can start experimenting with different soap bases, colors, fragrances, and additives. Consider the final product’s aesthetic – you can create a rustic charm by incorporating natural elements or a sleek, modern look through precise layering. The pursuit of truly unique soap creations often involves a deeper understanding of the interplay between oils and additives. If you're ready to take your skills to the next level, you can explore options such as custom soapmaking: designing soaps tailored to your needs and tailor your soaps to specific preferences and skin types.
Deeper Dive into Ingredients & Techniques
The beauty of melt and pour soapmaking is its accessibility, but the possibilities for customization are vast. Understanding the roles different oils play is essential for creating truly exceptional soaps. Beyond the base ingredients, exploring the properties of oils like olive, coconut, and shea can significantly enhance your soapmaking skills. Consider the benefits of each base - glycerin for a bright, bubbly lather, shea butter for added moisturization, and goat's milk for a creamy texture. Combining these bases intelligently is what separates a good soap from an exceptional one.
Troubleshooting Common Issues
Even with melt and pour soapmaking's ease, occasional hiccups can occur. Scorched soap can be a frustrating outcome. Scorching is typically caused by overheating; using shorter intervals in the microwave and closely monitoring the process can help prevent this. Another common issue is a grainy texture. This can sometimes be caused by moisture getting into the soap base. Always ensure your equipment and ingredients are completely dry before starting. Understanding the potential pitfalls and how to avoid them is a critical part of the learning process. With a little bit of attention to detail, you can ensure consistently beautiful results every time.
Essential Equipment Beyond the Basics
While a double boiler or microwave are the workhorses of melt and pour soapmaking, certain tools can significantly streamline the process and improve the final product. Silicone spatulas are a must for gentle mixing and scraping, while heat-resistant pitchers make pouring a breeze. Precise scales are crucial for accurately measuring ingredients, especially when experimenting with different formulations. Properly equipped, your soapmaking workspace becomes a well-oiled machine, leading to more enjoyable and successful creations.
Advanced Techniques: Swirling, Layering, and More
Once you’re comfortable with the fundamentals, the truly creative possibilities begin to unfold. Swirling involves carefully layering colors to create mesmerizing patterns, while layering techniques allow you to introduce different fragrances or additives at various depths. These advanced techniques elevate your soapmaking from a simple craft to an art form, transforming ordinary bars into miniature works of art.
Conclusion
Melt and pour soapmaking is a fun, accessible, and rewarding hobby. It’s the perfect way to create beautiful, natural soaps at home, even if you’ve never made soap before. Happy soaping!