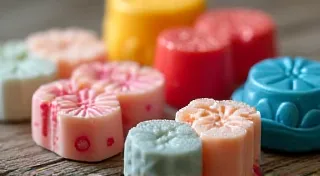
The Ultimate Guide to Cold Process Soapmaking
Cold process soapmaking is a rewarding craft allowing you to create beautiful, personalized bars of natural soap. This guide provides a comprehensive overview of the process, covering everything from safety precautions to the final curing stage. Whether you’re a complete beginner or an experienced crafter looking to refine your technique, this tutorial has something for you.
Understanding the Basics: Saponification
At its core, cold process soapmaking is a chemical reaction called saponification. This is the process where fats and oils react with an alkali (lye) to create soap and glycerin. Understanding this process is vital for successful soapmaking. The amount of lye needed depends on the types and amounts of oils used – more on that later!
Safety First! Handling Lye
Lye (sodium hydroxide - NaOH) is a powerful chemical and requires utmost respect. Always prioritize safety. Understanding lye safety and calculations is crucial, and we’ve created a dedicated resource Understanding Lye: Safety and Calculations for Soapmaking to help you master this essential aspect of soapmaking.
- Wear Protective Gear: Always wear safety goggles, long sleeves, and gloves (nitrile or rubber) when handling lye.
- Ventilation: Work in a well-ventilated area. Fumes from the lye reaction can be irritating.
- Never Add Water to Lye: Always add lye to water slowly, as adding water to lye can cause a dangerous, rapid reaction.
- Acidic Neutralization: Keep vinegar (a mild acid) readily available to neutralize any lye spills.
- Keep Away from Children and Pets: Ensure a safe working environment, away from curious little ones.
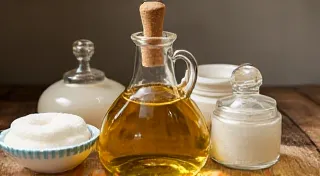
Gathering Your Equipment and Ingredients
Before you begin, make sure you have all the necessary equipment and ingredients. Choosing the right oils can greatly impact the final product; we recommend delving deeper into Choosing the Right Oils for Artisan Soapmaking to learn how different oils contribute unique qualities to your soap.
Essential Equipment:
- Stainless Steel Pot: For mixing the lye solution.
- Heat-Safe Containers: For mixing oils and other additives.
- Stick Blender (Immersion Blender): Speeds up the saponification process.
- Thermometers: Two thermometers for monitoring temperatures of lye and oils.
- Scale: Precise measurements are crucial!
- Silicone Molds: For pouring the soap mixture.
- Spatulas: For scraping and mixing.
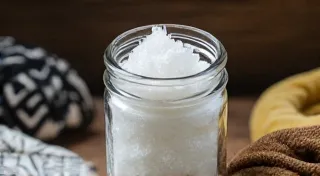
- Lye (Sodium Hydroxide - NaOH): The alkali needed for saponification.
- Oils & Fats: These provide the moisturizing and cleansing properties of your soap (e.g., olive oil, coconut oil, shea butter).
- Distilled Water: To dissolve the lye.
- Additives (Optional): Essential oils for fragrance, colorants for visual appeal, herbs or botanicals for texture and benefits. For a beautiful bar, consider the impact of different fragrances; we explore this in more detail in our guide to Essential Oils in Soap: Blending for Scent and Therapeutic Benefits.
- Lye Calculation: Use a reliable lye calculator (e.g., SoapCalc, Bramble Berry's Lye Calculator) to determine the exact amount of lye needed for your specific oil blend. This is arguably the most important step! Always double-check those calculations; incorrect amounts can lead to undesirable results.
- Prepare the Lye Solution: Carefully add the measured lye to distilled water (never the other way around!). Stir until the lye is completely dissolved. The solution will heat up significantly. Remember, safety is paramount here; always prioritize protective gear.
- Heat the Oils: Gently heat your oils to a temperature between 100-120°F (38-49°C), depending on the specific oils in your recipe. The type of oils you use affects this stage; certain oils may require different heating temperatures.
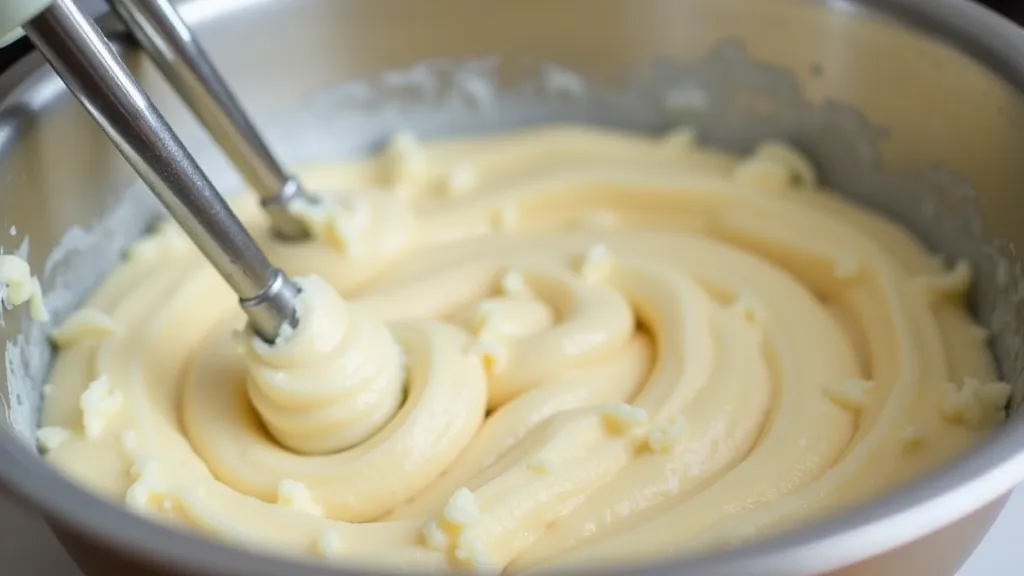
- Combine Lye and Oils: Once the lye solution and oils have reached the desired temperatures, slowly add the lye solution to the oils while stirring continuously.
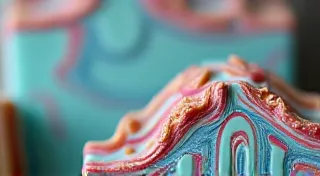
- Trace: Continue stirring (and blending with the stick blender) until the mixture reaches "trace." Trace is when the mixture thickens enough that a drizzle of the mixture on the surface leaves a visible trail or "trace" before sinking back in. This is a critical point; too little mixing and your soap may not bind properly.
- Additives (Optional): At trace, gently incorporate any essential oils, colorants, or other additives. Be mindful that some additives can affect the trace and saponification process.
- Pour into Mold: Pour the soap mixture into your prepared mold.
- Insulate: Cover the mold with a towel or blanket to insulate it and promote even saponification. This helps prevent cracking and ensures a more even reaction.
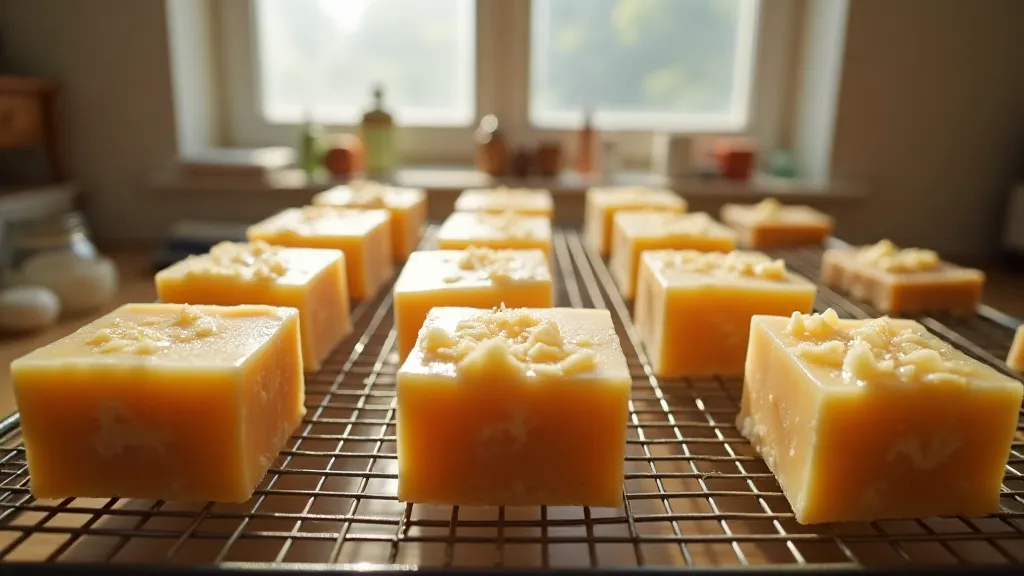
- Unmold: After 24-48 hours, carefully unmold the soap.
- Cure: Cut the soap into bars and place them on a wire rack in a well-ventilated area to cure for 4-6 weeks. Curing allows excess water to evaporate, resulting in a harder, milder bar of soap. Proper curing is key to a quality bar.
Troubleshooting & Common Issues
Soapmaking, like any craft, can present challenges. Understanding why issues arise and how to address them is part of the learning process. We’re dedicated to eco-friendly practices; explore how to make your soapmaking journey more sustainable in our guide to Eco-Friendly Soapmaking: Sustainable Practices for a Better Planet.
- Soap Seizing: This happens when the soap thickens too quickly. It can be caused by different temperatures or certain additives. This is often referred to as "seizing," and it can be difficult to reverse.
- Soap Cracking: Cracking can be caused by rapid cooling or uneven saponification. Adjusting your insulation and curing process can help prevent cracking.
- Soap Ash: Soap ash can be caused by using too much lye. Always double-check your calculations! A pH test can confirm the soap is safe for use.
Further Learning
This guide provides a foundational understanding of cold process soapmaking. There are countless resources available online and in print to expand your knowledge and explore advanced techniques. Understanding the science behind soapmaking can significantly improve your results. Dive deeper into the chemistry and artistry of creating beautiful, natural soap.