Beginner's Guide to Soap Curing: Why It Matters
So you've poured your beautifully scented, colorful soap and are eagerly awaiting a luxurious shower. But before you rush to lather up, there's a crucial step many new soap makers overlook: curing. This article will explain why curing is vital for a good bar of soap and guide you through the process step by step.
What is Soap Curing?
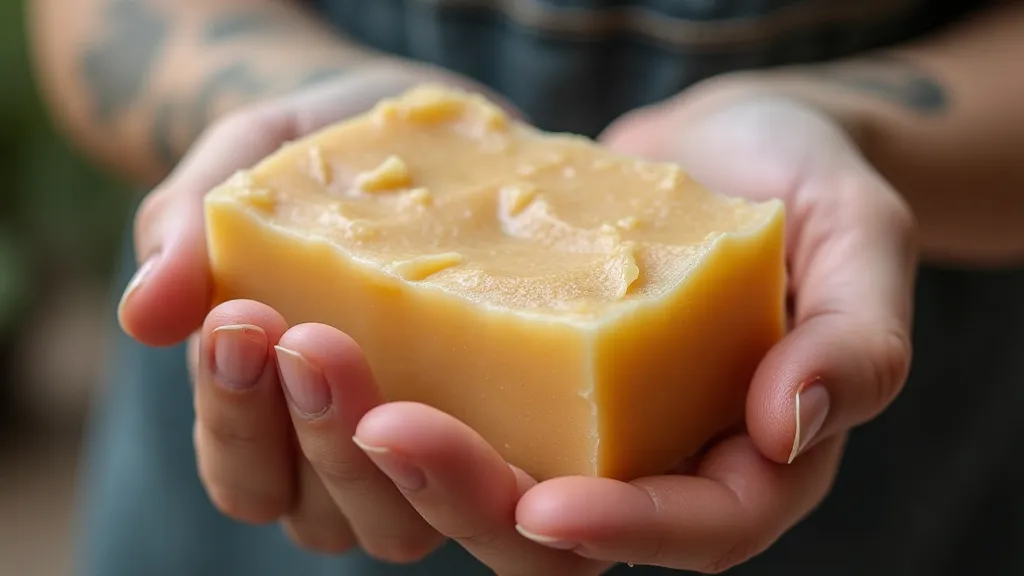
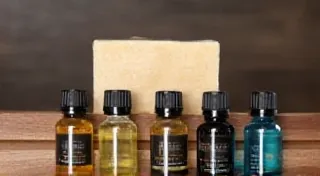
Soap curing is essentially drying. When soap is first made, it contains excess water from the saponification process (the chemical reaction that turns oils and lye into soap). While it looks and feels 'solid' right after pouring, it’s not fully ready for use. Curing allows this excess water to evaporate, resulting in a milder, longer-lasting, and harder bar of soap. Understanding the complexities of this process is key to creating a truly exceptional bar – and it all starts with selecting the right oils for your recipe.
Why is Curing Important?
Here's a breakdown of why curing your soap is essential:
- Milder Soap: The saponification process doesn’t always complete perfectly. Curing allows any remaining, unreacted lye to combine with the oils, resulting in a gentler soap. A mild soap is crucial for skin health, which is why many soap makers choose to incorporate goat milk into their recipes – choosing goat milk as an ingredient offers additional benefits.
- Harder Bar: As the water evaporates, the soap becomes denser and harder, making it less prone to dissolving quickly in the shower.
- Longer Lasting: A properly cured soap lasts longer because it’s not crumbling and dissolving as quickly.
- Better Lather: Curing contributes to a richer and more stable lather.
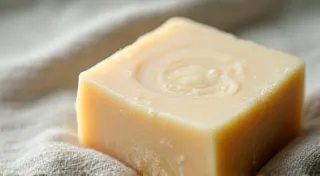
- Improved Appearance: Curing can also help the soap's color become more vibrant.
The Soap Curing Process: A Step-by-Step Guide
Let's walk through the curing process. It's more than just placing your soap on a shelf – proper technique is key.
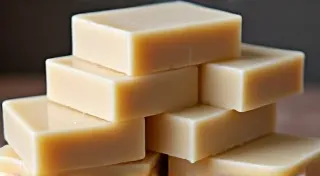
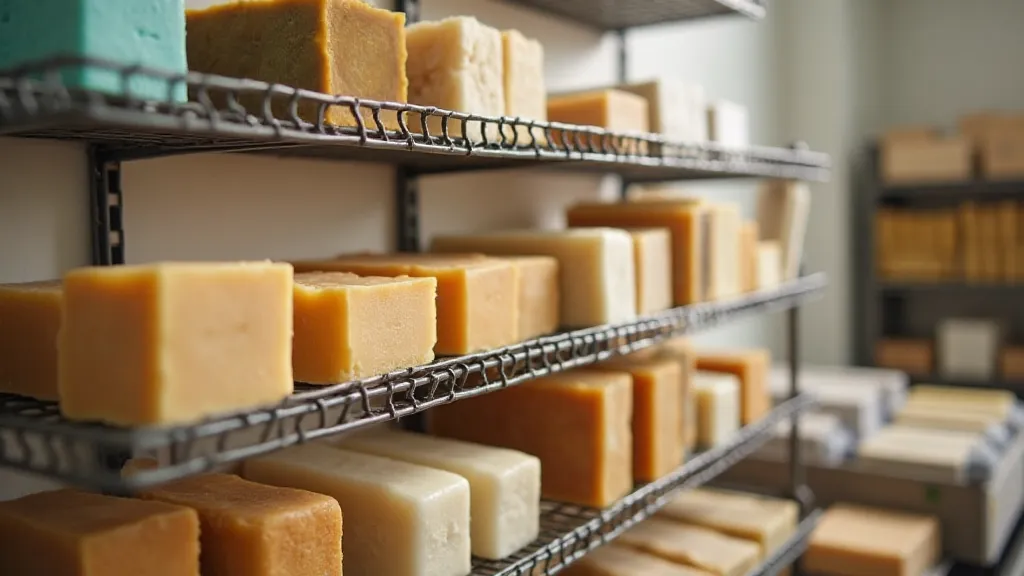
- Initial Drying (24-48 hours): After unmolding your soap, place it on a wire rack, parchment paper, or a well-ventilated surface. This allows air to circulate around all sides of the bar. Don’t place it directly on a flat surface – this will prevent proper drying. This first stage is about getting the initial surface moisture off.
- First Rotation (After 24 Hours): Flip each bar over. This ensures even drying on all sides. Some soap makers prefer to leave the soap undisturbed during this initial drying period; however, flipping does speed up the overall process.
- Curing Time (4-6 Weeks Minimum): This is the most important step! Store your soaps in a well-ventilated area, out of direct sunlight and humidity. A wire rack is ideal, allowing air to circulate around each bar. Consider factors like the types of oils you used. Those using coconut oil and shea butter may find their soaps cure a little faster than those using a high percentage of olive oil.
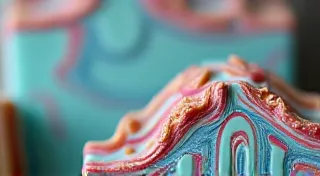
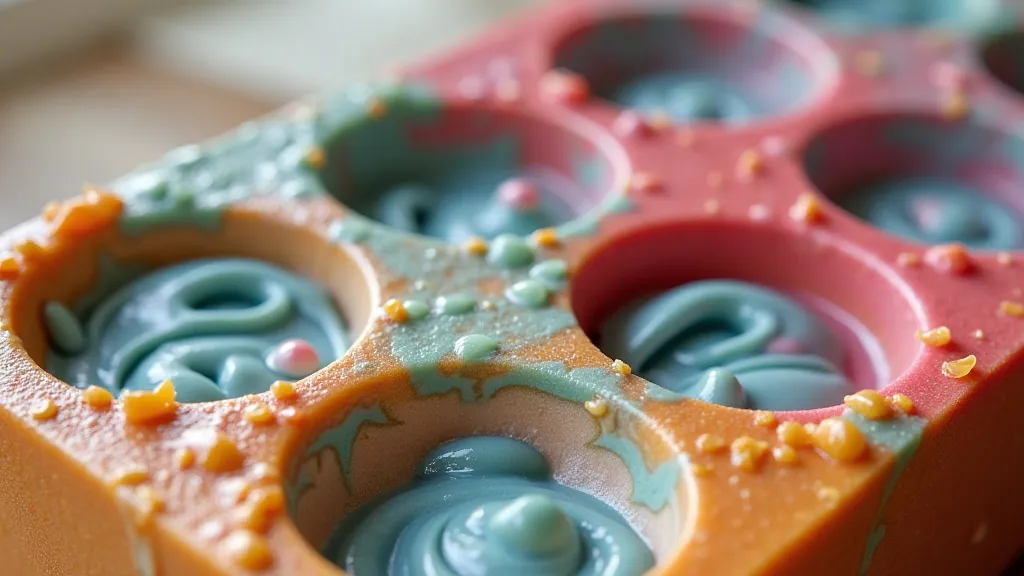
- Regular Rotation (Weekly): Rotate your soaps weekly to promote even drying. This is especially important for larger or more intricately designed bars. Different designs, like swirls and marbling, can affect the drying process, so extra care is needed – experimenting with different techniques can add unique aesthetics.
- The Smell Test (Optional): After about 4 weeks, sniff your soaps. They should have a milder, more pleasant scent than when they were first poured. If they still smell strongly of the lye scent, give them another week or two. This test is subjective, so trust your nose!
Understanding the Science Behind Soap Curing
The process of curing is more than just waiting. It's a chemical and physical transformation. While the saponification reaction creates soap, it doesn't always result in a fully "complete" bar. There can be residual, unreacted lye, and the soap is quite porous. Curing allows these pores to close and the soap to harden.
Factors Affecting Curing Time
The ideal curing time can vary depending on several factors. It's not a one-size-fits-all approach!
- Recipe Oils: Soaps made with higher percentages of hard oils like coconut oil and shea butter tend to cure faster than those made with softer oils like olive oil. The balance of oils is paramount; understanding the properties of each oil is essential.
- Size & Thickness: Larger, thicker bars require longer curing times than smaller, thinner ones. The volume of soap dictates how long moisture needs to evaporate.
- Humidity: High humidity will significantly slow down the curing process. Humidity inhibits the evaporation of water, essentially pausing the curing process.
- Ventilation: Good ventilation speeds up curing. Airflow helps carry away the evaporating water.
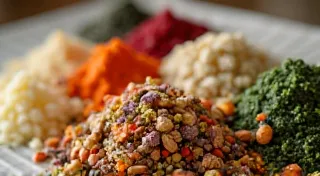
- Colorants & Additives: Certain colorants and additives can also influence the curing time. Some natural colorants can slightly alter the soap’s structure.
- Water Discount: The amount of water used in the recipe, also known as the water discount, affects curing. Using less water can result in a faster curing process but may also impact the final texture.
Troubleshooting Common Curing Issues
Even with careful attention, things can sometimes go wrong during the curing process. Here are a few common issues and how to address them:
- Soap is too soft: This could be due to a recipe with too many soft oils or insufficient hard oils. Also, ensure adequate ventilation and consider reducing the water discount in future batches.
- Soap is cracking: Rapid cooling or uneven drying can cause cracking. Wrap the soap tightly after unmolding to slow down the cooling process.
- Soap has a strong lye scent: This indicates insufficient curing time. Allow the soap to cure for a longer period, ideally 6-8 weeks.
- Soap is sweating: Moisture condensing on the surface of the soap is called sweating. This is often a sign of high humidity or insufficient ventilation. Improve airflow and consider relocating your curing area.
Beyond the Basics: Sustainable Soapmaking Practices
Creating artisan soap is not just about crafting a luxurious product; it’s also an opportunity to embrace sustainable practices. Choosing eco-friendly ingredients and minimizing waste are essential steps towards responsible soapmaking.
Don't Skip the Curing!
While it may be tempting to use your freshly poured soap immediately, resisting that urge and allowing it to cure properly will result in a much better bar. Trust the process, be patient, and enjoy the luxurious results of a perfectly cured artisan soap!