Hot Process Soapmaking: Speed Up Your Soapmaking Time
Traditional cold process soapmaking requires a lengthy curing period – typically 4-6 weeks – to allow the saponification reaction to complete and for excess water to evaporate. This extended wait can be frustrating for those eager to use or gift their creations. Enter hot process soapmaking! This method drastically reduces that curing time, allowing you to enjoy your homemade soap in as little as a few days.
Hot process, or HP, soapmaking accelerates the saponification process by applying heat. While slightly more complex than cold process initially, the shortened curing time is a significant advantage for many soapmakers. Understanding why that curing period is so important is a great first step; if you're new to soapmaking, learning more about a beginner's guide to soap curing can really enhance your overall understanding.
Understanding the Process
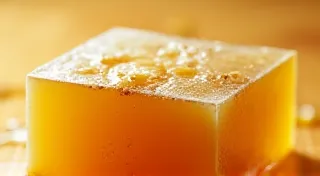
The fundamental principle remains the same: fats and oils react with lye (sodium hydroxide for bar soap, potassium hydroxide for liquid soap) to create soap and glycerin. However, in hot process, heat is introduced to speed up this chemical reaction. This is typically done using a slow cooker, double boiler, or even a stainless steel pot on a stove. The heat encourages the lye and oils to combine much faster than in cold process. You have a lot of flexibility in terms of what you use - and what you add! Often, people use essential oils to add fragrance and potential therapeutic benefits to their soaps; you can learn more about essential oils in soap to get some creative ideas.
You'll notice distinct stages during hot process: combining the lye solution and oils, bringing the mixture to a "trace" (a thickening point), applying heat, "checking" the soap's completion (more on this below), and finally, pouring it into a mold.
Equipment You'll Need
Stainless Steel Pot or Slow Cooker: Essential for applying heat. A slow cooker offers more consistent temperature control.
Heat-Resistant Spatulas or Spoon: For stirring the soap mixture.
Accurate Scale: Precise measurements are crucial in all soapmaking, but especially so in hot process.
Safety Gear: Gloves, eye protection, and long sleeves are mandatory. Lye is corrosive.
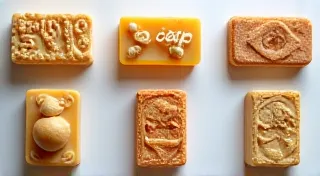
Stainless Steel Mold: Choose a mold that’s suitable for the consistency of hot process soap.
Thermometer: To monitor the temperature of your lye solution and oils.
"
 The Technique: Step-by-Step
Prepare Your Lye Solution: Carefully add lye to water (NEVER water to lye!) and stir until dissolved. Always work in a well-ventilated area and wear appropriate safety gear.
Combine Oils: Weigh and combine your oils in a stainless steel pot.
Combine Lye and Oils: Slowly add the lye solution to the oils, stirring constantly until a "trace" forms. This is similar to cold process soapmaking.
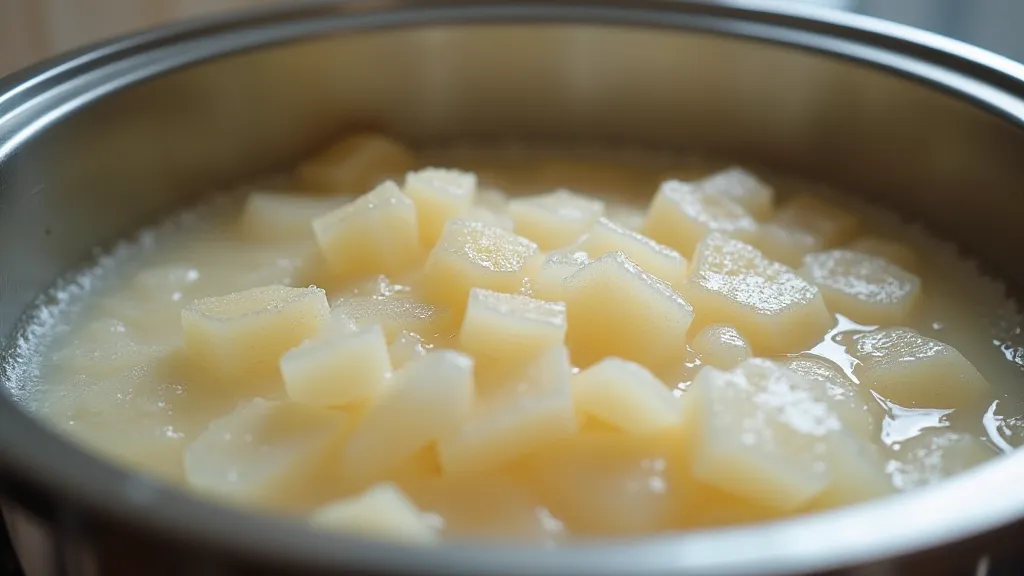
Apply Heat: This is where hot process differs significantly. Transfer the soap mixture to a slow cooker or double boiler. Cook on low heat, stirring frequently.
Check for Completion: This is the trickiest part. There are several “tests” for completion:
The "Push" Test: Press the soap with a spatula. If the mark holds and doesn’t immediately fill in, it’s closer to completion.
The "Pinch" Test: Pinch off a small piece of soap. It should feel like cooked soap, not a slick, oily paste.
The "Windowpane" Test: Stir the soap and try to make a “windowpane” on the surface. If you can briefly see through it, the soap is likely complete.
"
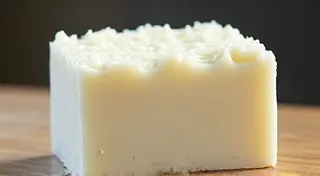
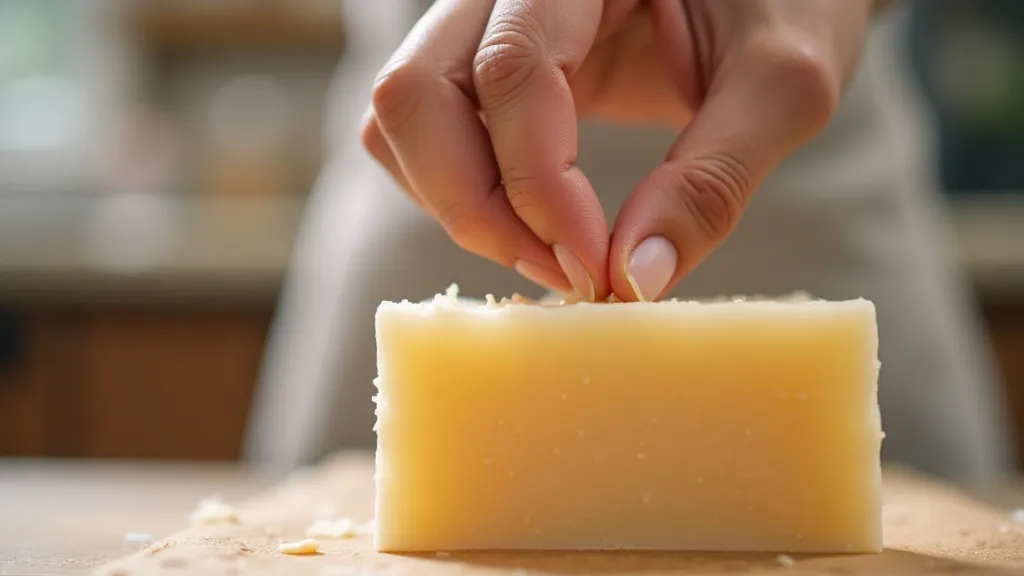
Pour and Insulate: Once the soap is complete, pour it into your mold. Insulate the mold with towels or blankets to help retain heat and ensure even saponification.
The Technique: Step-by-Step
Prepare Your Lye Solution: Carefully add lye to water (NEVER water to lye!) and stir until dissolved. Always work in a well-ventilated area and wear appropriate safety gear.
Combine Oils: Weigh and combine your oils in a stainless steel pot.
Combine Lye and Oils: Slowly add the lye solution to the oils, stirring constantly until a "trace" forms. This is similar to cold process soapmaking.
Apply Heat: This is where hot process differs significantly. Transfer the soap mixture to a slow cooker or double boiler. Cook on low heat, stirring frequently.
Check for Completion: This is the trickiest part. There are several “tests” for completion:
The "Push" Test: Press the soap with a spatula. If the mark holds and doesn’t immediately fill in, it’s closer to completion.
The "Pinch" Test: Pinch off a small piece of soap. It should feel like cooked soap, not a slick, oily paste.
The "Windowpane" Test: Stir the soap and try to make a “windowpane” on the surface. If you can briefly see through it, the soap is likely complete.
"
Pour and Insulate: Once the soap is complete, pour it into your mold. Insulate the mold with towels or blankets to help retain heat and ensure even saponification.
 Potential Challenges & Troubleshooting
Hot process soapmaking can be incredibly rewarding, but it’s not without its potential pitfalls. Understanding common issues and how to address them is crucial for consistent results. If you’re encountering problems, it’s also helpful to remember that experimentation is part of the learning process. Sometimes, even with precise measurements and careful technique, things don't go as planned. This is where learning about troubleshooting common soapmaking problems can be incredibly valuable, as it offers a comprehensive guide to addressing various issues that may arise.
Soap “Boiling Over”: This usually happens if the heat is too high. Reduce the heat and stir more frequently.
Soap Too Soft: May be due to insufficient saponification. It's often a sign of needing to cook longer. Consider reviewing your recipe and ensuring accurate lye calculations.
Soap Too Hard: Less common, but can indicate overcooking. Reducing cooking time and lowering the heat can help prevent this.
Inconsistent Results: Hot process soapmaking requires practice. Keep detailed notes on your recipes and techniques to identify and correct issues. Note the temperature settings, cooking times, and any observations about the soap’s texture and appearance.
"
Advantages of Hot Process Soapmaking
The benefits of hot process soapmaking extend beyond just the reduced curing time. It offers a level of control and flexibility that’s simply not possible with traditional cold process methods. Many soapmakers find the shorter wait time incredibly appealing, allowing them to enjoy their creations sooner rather than later.
Reduced Curing Time: The primary benefit – enjoy your soap in days, not weeks!
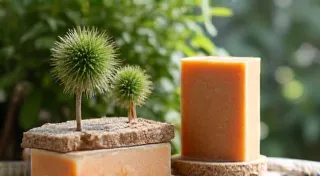
Immediate Use of Additives: Additives like essential oils and botanicals can be incorporated later in the process, preserving their scent and color better. This is especially advantageous for delicate fragrances that tend to dissipate during the longer curing time of cold process soap.
Less Chance of “Reverting”: Reverting is a phenomenon where cold process soap becomes soft and oily. Hot process soap is much less susceptible to this. The heat applied during the hot process helps to ensure complete saponification, minimizing the risk of reversion.
"
Potential Challenges & Troubleshooting
Hot process soapmaking can be incredibly rewarding, but it’s not without its potential pitfalls. Understanding common issues and how to address them is crucial for consistent results. If you’re encountering problems, it’s also helpful to remember that experimentation is part of the learning process. Sometimes, even with precise measurements and careful technique, things don't go as planned. This is where learning about troubleshooting common soapmaking problems can be incredibly valuable, as it offers a comprehensive guide to addressing various issues that may arise.
Soap “Boiling Over”: This usually happens if the heat is too high. Reduce the heat and stir more frequently.
Soap Too Soft: May be due to insufficient saponification. It's often a sign of needing to cook longer. Consider reviewing your recipe and ensuring accurate lye calculations.
Soap Too Hard: Less common, but can indicate overcooking. Reducing cooking time and lowering the heat can help prevent this.
Inconsistent Results: Hot process soapmaking requires practice. Keep detailed notes on your recipes and techniques to identify and correct issues. Note the temperature settings, cooking times, and any observations about the soap’s texture and appearance.
"
Advantages of Hot Process Soapmaking
The benefits of hot process soapmaking extend beyond just the reduced curing time. It offers a level of control and flexibility that’s simply not possible with traditional cold process methods. Many soapmakers find the shorter wait time incredibly appealing, allowing them to enjoy their creations sooner rather than later.
Reduced Curing Time: The primary benefit – enjoy your soap in days, not weeks!
Immediate Use of Additives: Additives like essential oils and botanicals can be incorporated later in the process, preserving their scent and color better. This is especially advantageous for delicate fragrances that tend to dissipate during the longer curing time of cold process soap.
Less Chance of “Reverting”: Reverting is a phenomenon where cold process soap becomes soft and oily. Hot process soap is much less susceptible to this. The heat applied during the hot process helps to ensure complete saponification, minimizing the risk of reversion.
"
 Expanding Your Soapmaking Skills
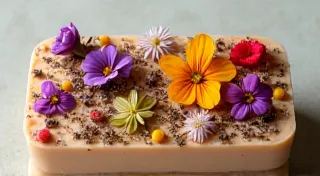
Once you’re comfortable with the basics of hot process soapmaking, there are endless opportunities to explore more advanced techniques. Experimenting with different oils, additives, and design elements can help you create truly unique and personalized soaps. Thinking about the aesthetic appeal of your soaps is a really important factor – after all, we eat with our eyes! If you've mastered the basics, you might consider exploring soapmaking design techniques, such as swirling and marbling, to add visual flair to your creations.
Conclusion
Hot process soapmaking offers a fantastic alternative to the traditional cold process method, especially for those who crave quicker results. While it might require a bit more attention and practice, the benefits of reduced curing time and greater control over additives make it a rewarding endeavor. Embrace the heat and unleash your creativity! Remember that soapmaking is a continuous learning journey, so don’t be afraid to experiment and try new things.
Expanding Your Soapmaking Skills
Once you’re comfortable with the basics of hot process soapmaking, there are endless opportunities to explore more advanced techniques. Experimenting with different oils, additives, and design elements can help you create truly unique and personalized soaps. Thinking about the aesthetic appeal of your soaps is a really important factor – after all, we eat with our eyes! If you've mastered the basics, you might consider exploring soapmaking design techniques, such as swirling and marbling, to add visual flair to your creations.
Conclusion
Hot process soapmaking offers a fantastic alternative to the traditional cold process method, especially for those who crave quicker results. While it might require a bit more attention and practice, the benefits of reduced curing time and greater control over additives make it a rewarding endeavor. Embrace the heat and unleash your creativity! Remember that soapmaking is a continuous learning journey, so don’t be afraid to experiment and try new things.