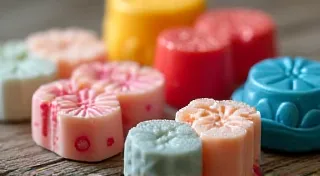
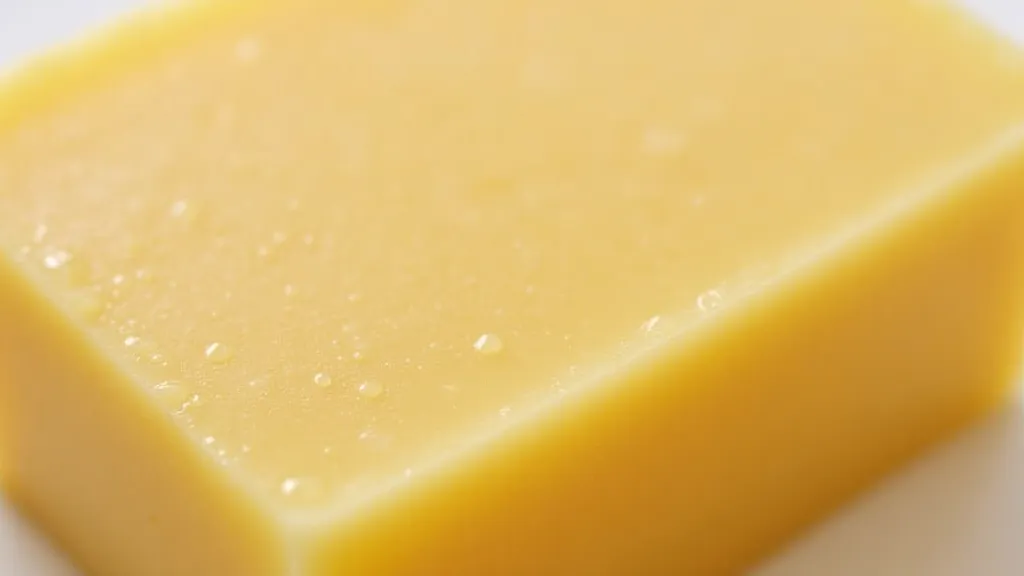
Soapmaking with Honey: A Sweet and Moisturizing Treat
Honey. It’s delicious on toast, soothing in tea, and surprisingly fantastic in soap! Incorporating honey into your soapmaking recipes isn't just about the lovely golden color and subtle sweetness; it's about delivering a truly moisturizing and beneficial bar to your skin. This guide will explore the wonders of honey in soapmaking, explaining its unique properties and offering tips for successful incorporation.
Why Use Honey in Soap? Understanding the Benefits
The real magic of honey lies in its properties. Unlike many ingredients that simply add lather or hardness, honey acts as a humectant. What does that mean?
A humectant is an ingredient that attracts moisture from the air and draws it into the soap. This means your honey soap will feel intensely hydrating, especially beneficial for dry or sensitive skin. Beyond its humectant abilities, honey also contains:
- Antioxidants: Help protect skin from environmental damage.
- Antibacterial properties: Can help cleanse skin gently.
- Vitamins and minerals: Provide extra nourishment.
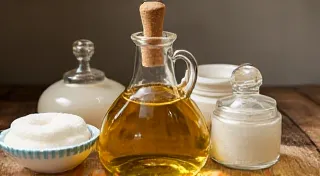
It's worth noting that the type of honey used can influence these benefits. Raw, unfiltered honey is often preferred for soapmaking as it retains more of its beneficial enzymes and nutrients. However, pasteurized honey will also work.
Incorporating Honey into Your Soap Recipes
Adding honey to your soap recipe is relatively straightforward, but there are a few key points to keep in mind to avoid issues like overheating or a sticky soap base.
Things to Consider:
- Amount: A general rule of thumb is to use 1-3 tablespoons of honey per pound of oils. Starting with a smaller amount is always recommended, especially for beginners.
- Temperature Control: Honey can cause the soap batter to heat up significantly during the saponification process. To prevent overheating, consider using cooler oils and working in a cooler environment. Adding the honey towards the end of mixing can also help.
- Stickiness: Too much honey can create a sticky soap. If you notice your soap batter is overly sticky, try reducing the amount of honey in future batches.
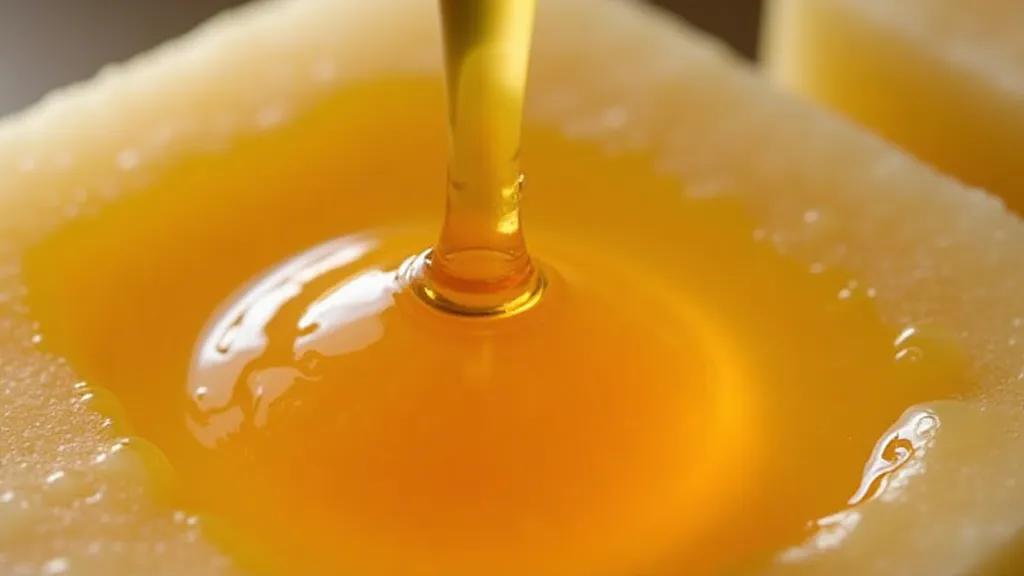
- Dissolving: It’s highly recommended to dissolve the honey in a small amount of distilled water (about 1-2 tablespoons per tablespoon of honey) before adding it to your soap batter. This prevents clumping and ensures even distribution.
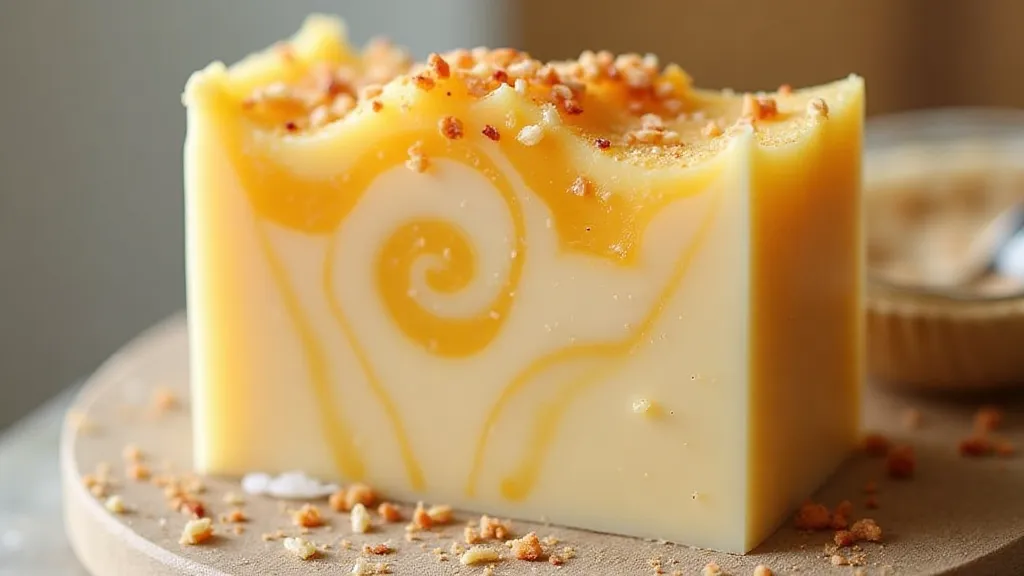
Basic Recipe Modification:
Let’s say you have a standard soap recipe using coconut oil, olive oil, and shea butter. Here's how you might incorporate honey:
- Dissolve 2 tablespoons of honey in 2 tablespoons of distilled water.
- Prepare your soap batter as usual.
- Once the trace has begun, slowly add the honey-water mixture, stirring gently.
- Continue stirring until the mixture is smooth and uniform.
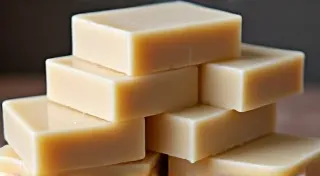
- Pour into your mold and allow to cure as usual.
Troubleshooting Common Honey Soap Problems
Even with careful planning, you might encounter a few issues when making honey soap.
- Overheating: If your soap overheats, try using cooler oils, reducing the amount of honey, and adding the honey more gradually.
- Sticky Soap: Reduce the amount of honey in your next batch.
- Cloudy Soap: This can sometimes happen if the honey isn’t fully dissolved. Make sure to dissolve the honey in water before adding it to the batter.
Beyond the Basics: Experimenting with Honey
Once you’re comfortable with the basics, you can start experimenting with different types of honey and adding other complementary ingredients.
- Manuka Honey: Known for its potent antibacterial properties.
- Orange Blossom Honey: Adds a delicate floral aroma.
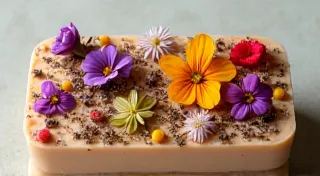
- Adding essential oils: Pair honey with essential oils like lavender or chamomile for a soothing and aromatic soap.
Conclusion
Incorporating honey into your soapmaking is a rewarding experience, offering a delightful scent, a luxurious feel, and the incredible benefits of this natural humectant. Don't be afraid to experiment and adjust your recipes to create truly unique and moisturizing bars of honey soap!