Creating Rustic Soap Designs: Woodsy, Earthy, and Natural
In the world of artisan soapmaking, aesthetics matter. While a wonderfully lathering and nourishing soap is paramount, its visual appeal draws customers in and adds to the overall experience. If you're looking to move beyond simple bars and embrace a more organic, handcrafted look, rustic soap designs are an excellent choice. This article explores how to achieve beautiful, woodsy, earthy, and natural looks for your homemade soaps.
Embracing the Rustic Aesthetic
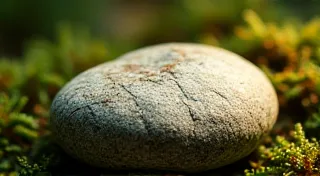
Rustic design is all about celebrating imperfections and drawing inspiration from nature. Think of weathered wood, mossy stones, and the subtle beauty of dried leaves. For soap, this translates to a focus on textures, natural colors (think browns, greens, creams, and ochre), and incorporating elements directly from the outdoors. The beauty lies in the slight variations, the natural lines of the wood, and the unpredictable swirls of color. This inherently requires a solid grasp of the fundamentals, so if you've only just started, consider a custom soapmaking project to fine-tune your skills before tackling more complex rustic designs.
Key Elements for Rustic Soap Designs
Here's a breakdown of elements you can use to create stunning rustic soap designs:
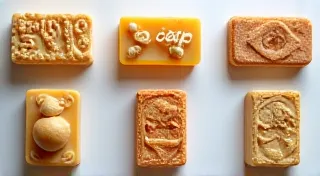
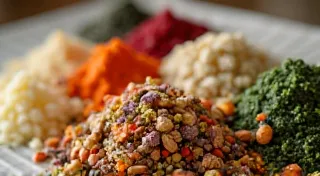
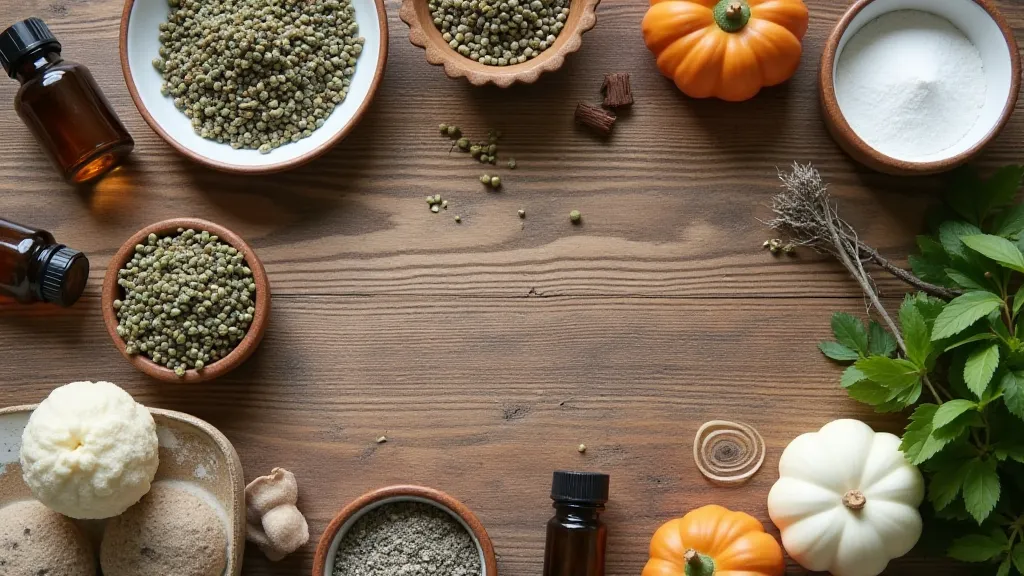
- Natural Colorants: Forget vibrant hues! Embrace clays (green, brown, red), herbs (rosemary, sage), spices (turmeric, paprika), and even vegetable powders for muted, earthy tones. Achieving the right color payoff with natural pigments can be tricky, requiring adjustments based on the oils used and pH changes during saponification.
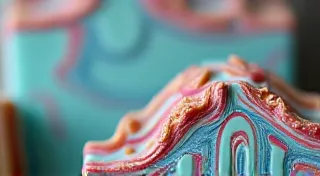
- Textured Tops: Creating a textured top adds incredible visual interest. This can be achieved by layering different colored soap, sprinkling herbs and seeds, or swirling in pigments. The texture not only looks great but also provides a tactile experience for the user.
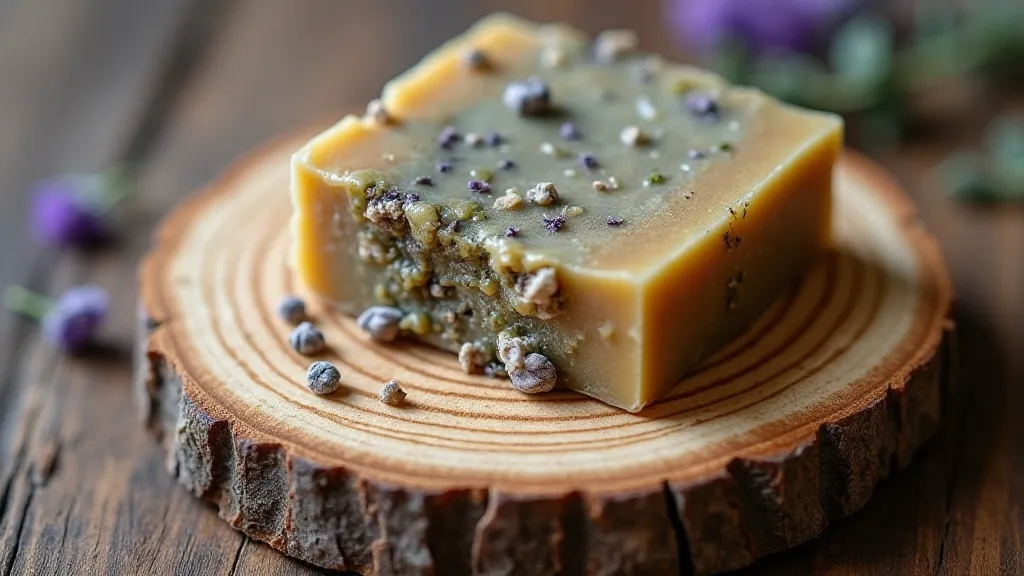
- Wood Slices: These are a cornerstone of rustic soapmaking. They provide a gorgeous base and a connection to nature. Make sure your wood slices are properly dried and sealed to prevent mold and ensure safety. It’s important to understand how the wood interacts with the soap's chemistry – more on that below.
- Dried Flowers & Herbs: Lavender, chamomile, rose petals, calendula – dried flowers and herbs add delicate beauty and subtle fragrance to your soaps. Not only are they visually appealing, but many offer skin-soothing properties.
- Seeds & Loofah Pieces: Add a natural exfoliant with poppy seeds, hemp seeds, or small pieces of loofah. Be mindful of the size and placement of these ingredients to avoid creating overly abrasive soaps.
- Mica Powders (Sparingly): While generally natural soapmaking avoids excessive mica, a *very* subtle application of earthy-toned mica can enhance shimmer without detracting from the rustic feel. Consider the ethical sourcing of mica and opt for verified suppliers.
Working with Wood Slices
Wood slices aren't just for decoration; they can be functional too. There are a few ways to incorporate them:
- Soap Base: Pour your soap batter directly onto a wood slice to create a stunning presentation. Ensure the wood slice is properly sealed with a food-safe sealant (like beeswax or a natural resin) to prevent the wood from absorbing moisture and to protect against bacteria. Choosing the right sealant is crucial for long-term stability and safety.
- Embedded Decoration: After the soap has partially set, gently press dried flowers, herbs, or small wood chips into the surface. This technique allows for a three-dimensional effect that truly highlights the rustic charm.
- Accent Pieces: Cut small wood shapes and embed them within the soap bar. These small details can add a touch of whimsy and personality to your creations.
The Science Behind Wood and Soap
Incorporating wood into soapmaking isn't as simple as just placing a slice under the batter. The lye in soap is incredibly alkaline and can react with the tannins in the wood, potentially leading to discoloration or even chemical reactions. Proper sealing is not just about preventing water absorption; it’s about creating a barrier to protect both the soap and the user. Always perform a small-scale test before committing to a large batch. If you're new to this process, understanding the soap curing guide can offer critical insight into how moisture and pH affect the finished product.
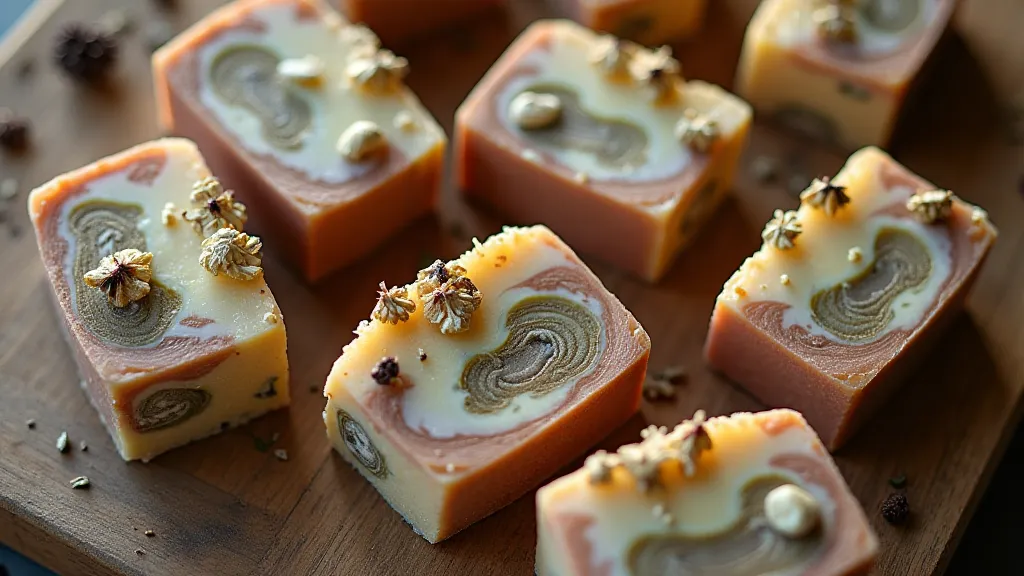
Recipe Inspiration: Forest Retreat Soap
This recipe combines earthy tones with a woodsy fragrance to evoke the tranquility of a forest retreat.
- Base Oils: 40% Olive Oil, 30% Coconut Oil, 20% Shea Butter, 10% Castor Oil
- Superfat: 6%
- Fragrance: Pine or Cedarwood Essential Oil Blend – Consider using a blend that complements the natural elements you're incorporating.
- Colorants: Green Clay, Cocoa Powder – Experiment with different ratios of these colorants to achieve your desired earthy tones.
- Additives: Dried Pine Needles, Poppy Seeds – Ensure these additives are thoroughly dried to prevent mold growth.
Layer the green clay-colored soap on top of a cocoa-colored base. Sprinkle with poppy seeds and arrange dried pine needles before allowing to set. The careful arrangement of these elements is key to achieving that authentic "forest retreat" feel.
Beyond Visuals: Enhancing the Sensory Experience
Rustic soapmaking isn't just about aesthetics; it’s about creating a holistic sensory experience. The fragrance is a critical component – a blend of pine and cedarwood evokes the scent of a forest, while the textures of the seeds and loofah provide a natural exfoliation. Consider the overall impression you want to create and choose ingredients accordingly. The art of blending fragrances can be challenging; many soapmakers find inspiration in the alchemist's bloom: unveiling the subtle art of fragrance layering in natural soap.
Tips for Success
- Test Your Woods: Always test your wood slices before incorporating them into a large batch of soap. Some woods can react unexpectedly with lye. Documenting these tests is essential for reproducibility.
- Proper Sealing: Can't stress this enough! Proper sealing is critical for wood slice soaps. Experiment with different sealant types to find the best option for your specific wood.
- Embrace Imperfection: Rustic design is about celebrating uniqueness. Don’t strive for perfection – the slight imperfections are what make your soaps special. A swirl that's a little too wild, a seed that’s slightly askew – these are the hallmarks of a handcrafted soap.
- Documentation: Keep detailed notes on your recipes and techniques. This includes everything from the type of wood used to the specific ratios of colorants.
- Consider Sustainability: Source your materials responsibly, opting for sustainably harvested wood and ethically sourced ingredients. Eco-friendly soapmaking practices align perfectly with the rustic aesthetic, emphasizing natural materials and minimal environmental impact.
Creating rustic soap designs is a rewarding way to connect with nature and showcase your artisan skills. With a little experimentation, you can create beautiful and unique soaps that customers will love. Don't be afraid to push boundaries, embrace imperfections, and let your creativity shine. Remember, every bar of soap is a reflection of your passion and dedication to the craft.